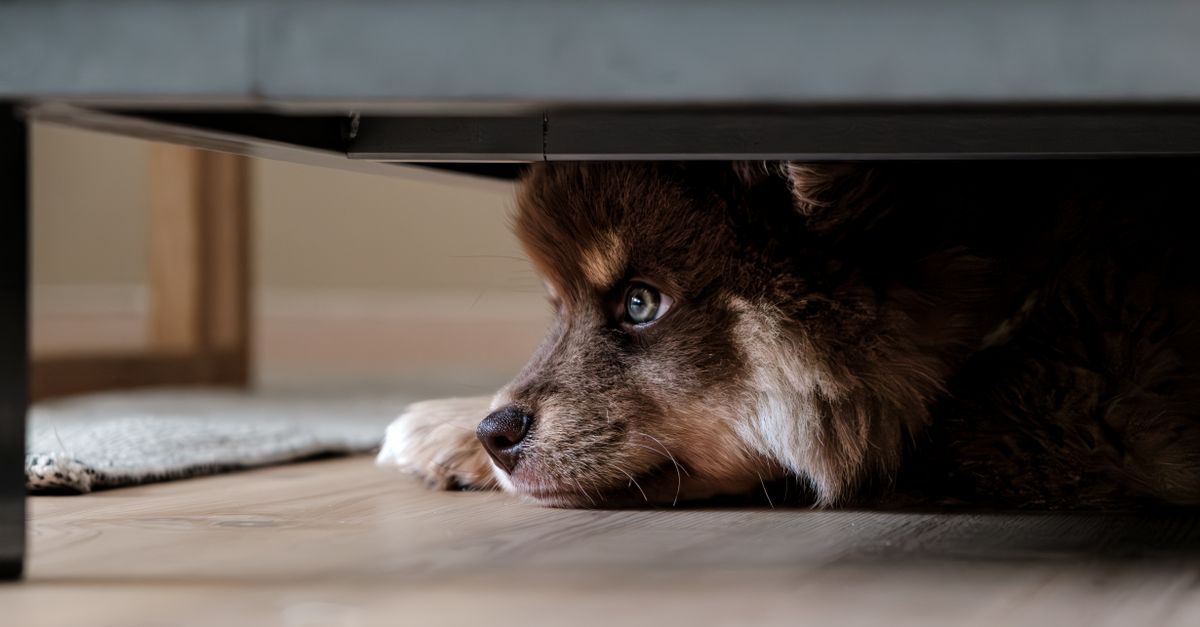
Every dog owner has been there: the wrestling match, the frantic yelps, the sheer terror in your dog’s eyes as you approach with nail clippers. What should be a routine grooming task often turns into a high-stress event for both you and your furry friend. Many owners assume their dog is just being stubborn or dramatic, but in my experience, it’s rarely that simple. The truth is, your dog isn’t trying to be difficult; they’re genuinely uncomfortable, scared, or even in pain. The common approach of just ‘getting it over with’ usually makes things worse, creating a cycle of fear and resistance that’s incredibly hard to break.
I’ve worked with countless dogs, from tiny chihuahuas to giant Great Danes, who absolutely despised nail trims. The mistake I see most often is that owners focus solely on the act of clipping, rather than addressing the underlying emotional response. What changed everything for me, and for the dogs I’ve helped, was understanding the core reasons for their aversion and implementing a structured, patient desensitization and counter-conditioning protocol – the very same techniques professional groomers and vets rely on. This isn’t about brute force or quick fixes; it’s about building trust and changing your dog’s emotional association with the process.
Key Takeaways
- Most dogs fear nail trims due to past negative experiences, pain, or lack of early positive exposure, not stubbornness.
- The ‘quick fix’ approach of forcing trims exacerbates fear and damages trust, making future trims harder.
- Effective change comes from a slow, systematic desensitization and counter-conditioning protocol, changing emotional responses.
- Breaking down the trim into micro-steps, pairing each with high-value rewards, is crucial for success.
The Real Reasons Behind the Dread: It’s More Than Just Pain
When a dog reacts strongly to nail trims, our first thought is often that we might cut the quick, causing pain. While hitting the quick is certainly a traumatic experience that can set back training significantly, it’s often just one piece of a much larger puzzle. In my years of working with fearful dogs, I’ve identified several common, often overlooked, reasons for their intense aversion:
- Past Trauma: This is perhaps the most significant factor. Even a single accidental quicking can create a lifelong phobia. The pain is sharp, unexpected, and can bleed, making it incredibly scary. Dogs remember this. They associate the clippers, the restraint, and even the approach with that painful event. It’s not just the direct pain; it’s the memory of it and the anticipation of it happening again.
- Lack of Early Positive Exposure: Puppies who aren’t regularly handled and exposed to positive nail trim experiences (even just touching their paws and nails gently) often grow into adults who are wary. They haven’t learned that the process is safe and can even be pleasant. The sensations—the pressure, the sound of the clippers, the vibration—are all novel and potentially alarming without prior positive association.
- Uncomfortable Restraint: Many owners resort to holding their dog down, sometimes with multiple people, to get the job done. This creates immense fear and a feeling of being trapped. Even if you don’t quick them, the act of forced restraint itself becomes a terrifying experience, eroding trust and making them resist even more fiercely next time. This is a battle you cannot win long-term.
- Hypersensitivity: Some dogs simply have very sensitive paws or a heightened startle response to sounds and sensations. The sound of the clippers, whether scissor-style or guillotine, can be jarring. The pressure of the trim, even when done correctly, can be unsettling for a dog not desensitized to it. This isn’t stubbornness; it’s a sensory overload.
- Long Nails Contributing to Discomfort: This is a cruel irony. When nails get too long, they push back into the nail bed, putting pressure on the toe joints. This can cause significant pain, especially when walking, running, or even standing. So, the very act of not trimming their nails (due to their fear) can lead to a state where the nails themselves are causing chronic discomfort, making any touch around the paws even more sensitive and painful. It becomes a vicious cycle that is hard to break.
Recognizing these underlying factors is the first, crucial step. You can’t fix a problem if you don’t understand its root cause. Trying to power through with force will only reinforce these negative associations and break the bond of trust you have with your dog.
Why ‘Just Getting It Over With’ Makes Everything Worse
I’ve heard it countless times: “My dog hates it, so we just hold him down and get it over with really fast.” While this approach might seem efficient in the moment, it is, without a doubt, the most damaging thing you can do for your dog’s relationship with nail trims. Think about it from your dog’s perspective:
- It confirms their worst fears: Every time you force a trim, you reinforce the idea that their fear is justified. They learn that their protests are ignored, and eventually, that their only option is to escalate their resistance. This isn’t about being dominant; it’s about being terrified and feeling helpless.
- It erodes trust: Your dog relies on you for safety and comfort. When you become the source of a scary, forceful, or painful experience, that trust is deeply compromised. This can spill over into other areas of your relationship, making them more hesitant to comply with other commands or approach you in certain situations.
- It creates a stronger negative association: The fear response isn’t just a mental thing; it’s a physiological one. Their heart rate goes up, they release stress hormones, and their memory vividly links these unpleasant sensations to the clippers, the position, and even your presence. This makes the next trim even harder, requiring more force, and perpetuating a cycle of misery.
- It increases the risk of injury: When a dog is squirming, biting, or thrashing, the chances of accidentally quicking them or sustaining a bite injury yourself go way up. This turns a stressful situation into a potentially dangerous one for everyone involved.
In my experience, ‘just getting it over with’ is a short-term solution that creates long-term, compounding problems. It teaches your dog to dread you, not just the clippers. The goal isn’t just to get the nails trimmed; it’s to get the nails trimmed without traumatizing your dog, fostering a sense of cooperation and calm.
The Desensitization Secret: Breaking Down the Beast into Baby Steps
This is where the real work, and the real magic, happens. Desensitization and counter-conditioning are the cornerstone of behavior modification for fear and anxiety. The core idea is to gradually expose your dog to the feared stimulus (nail trims) at a level where they remain relaxed, while simultaneously pairing it with something incredibly positive (high-value treats). The goal is to change their emotional response from fear to anticipation of good things.
I break this process down into tiny, almost imperceptible steps, building success upon success. Here’s how I typically structure it:
Phase 1: The Tools (No Touch Yet)
- Introduce the clippers (or grinder) from afar: Show your dog the clippers. Don’t touch them with it. Treat immediately. Put the clippers away. Repeat 5-10 times in a short session. The moment the clippers appear, a treat appears. This builds a positive association with the sight of the tools.
- Sound association (if using a grinder): Hold the grinder away from your dog, turn it on for a second, then immediately turn it off and give a treat. Gradually decrease the distance (still not touching them), ensuring they remain calm. If they react, increase the distance. For clippers, just the visual association is often enough.
- Key here: The tools predict treats, not terror. Sessions should be short (1-2 minutes) and end on a positive note.
Phase 2: Paw Handling (No Tools Yet)
This phase is critical, as many dogs are sensitive to paw touching in general.
- Gentle touch: Touch your dog’s leg, then immediately give a treat. Repeat for all legs. Focus on a relaxed touch, not a grab. Build up to briefly holding a paw, then treating.
- Toe by toe: Gently touch a single toe. Treat. Release. Repeat for all toes. The goal is to make each toe touch predictable and pleasant. Avoid squeezing or forcing.
- Simulated trim position: Practice holding your dog in the position they would be in for a trim (e.g., cradling a paw, lifting a leg) without any tools. Hold briefly, treat, release.
- Key here: Paws predict treats and gentle handling. Never force; if they pull away, go back a step.
Phase 3: Combining Tools & Touch (Micro-Steps)
This is where we bring it all together, but with extreme caution and patience.
- Clipper/grinder near paw + treat: With your dog calm, hold the clippers/grinder near (but not touching) one paw. Treat. Remove clippers. Repeat.
- Touch nail with clippers/grinder (no trim): Gently touch the clippers/grinder to one nail (just for a split second). Treat immediately. Remove. Repeat for different nails.
- Simulated trim action (no actual clip/grind): Mimic the squeezing action of the clippers or briefly turn on the grinder right next to a nail (without touching or cutting). Treat immediately. This helps them get used to the sensation and sound without the actual impact.
- The actual trim (one nail, one clip/grind): Pick one nail. Line up the clippers. Give your dog a high-value treat (like a lick mat or squeeze cheese) just before and during the clip. Clip ONE nail. Immediately follow with a jackpot of treats and praise. STOP the session. You are done for the day.
- Key here: One successful, calm trim, no matter how small, is a huge win. The quality of the experience far outweighs the quantity of nails trimmed.
The secret is in the incremental nature. Each step must be so small that your dog barely notices it and stays relaxed. If they show any signs of fear or stress (pulling away, tensing, panting, yawning excessively, lip licking), you’ve gone too fast. Go back to the previous step where they were comfortable and work from there.
The Power of Positive Reinforcement and High-Value Rewards
Desensitization only works when paired with powerful positive reinforcement. This isn’t just about giving any treat; it’s about using high-value rewards – things your dog absolutely loves and rarely gets otherwise. We’re talking about:
- Squeeze cheese or peanut butter (xylitol-free!): These are fantastic because they require continuous licking, which is calming for dogs and keeps them occupied during the brief moment of the trim.
- Lick mats smeared with wet food or yogurt: Similar to squeeze cheese, these provide extended, calming distraction.
- Cooked chicken or beef: Tiny, pea-sized pieces of cooked meat are often irresistible.
- Hot dogs or cheese sticks: Cut into small, manageable bits.
Here’s how to use them effectively:
- Continuous reinforcement: When you get to the actual trim, have your high-value reward ready. For example, let them lick peanut butter from a spoon continuously as you work. The moment the clippers appear or the grinder goes on, the treat appears. The moment it’s over, the treat is gone (or you give a jackpot).
- Jackpot rewards: After a successful step or a single, calm clip, provide a burst of several small treats or an extra-long lick of the peanut butter. This tells your dog, “Wow, that was amazing! Let’s do that again!”
- Timing is everything: The reward must come immediately after the desired behavior (or even during the experience you want to reframe). If there’s a delay, your dog won’t make the connection.
- End on a high note: Always, always, always end a session when your dog is calm and has just had a positive experience, even if you’ve only managed one tiny clip. This builds a positive memory and leaves them looking forward to the next session.
This isn’t bribing; it’s teaching. You’re teaching your dog that nail trims predict wonderful things, transforming a dreaded experience into one they can tolerate, and perhaps even enjoy.
Consistency, Patience, and Knowing When to Call in a Pro
This process is not a race; it’s a marathon. You are literally rewiring your dog’s brain and emotional responses, which takes time and consistency. Here are my final tips for success:
- Short, frequent sessions: Five minutes, once or twice a day, is far more effective than one long, stressful session once a week. Frequent, positive micro-exposures build positive associations much faster.
- Be a detective of body language: Learn to read your dog’s stress signals – lip licking, yawning, turning away, tail tucked, whale eye (showing the whites of their eyes). If you see these, you’re pushing too hard. Stop, take a break, or go back to an easier step.
- Don’t skip steps: It’s tempting to rush, especially if you see a bit of progress. Resist! Each step is a foundation for the next. Skipping will often lead to setbacks.
- Manage nail length in the interim: If your dog’s nails are painfully long and you need a quicker solution while you work on desensitization, consider taking them to a vet for a sedated nail trim. This isn’t ideal long-term, but it can provide immediate relief and allow you to start your positive training from a less painful baseline. Emphasize to the vet that this is for relief, and you’re working on positive training.
- Consider a Dremel/grinder: Many dogs tolerate grinders better than clippers because there’s no sharp snip sensation, just a vibration. The desensitization process is similar, focusing on the sound and vibration. Some dogs do better with one over the other; be open to experimenting.
- Know your limits: If your dog is showing true aggression (snarling, biting, growling) or you feel overwhelmed, it’s absolutely okay – and recommended – to seek help from a certified professional dog trainer or veterinary behaviorist. They can assess your dog’s specific fears and develop a tailored plan, often incorporating mild anti-anxiety medication if appropriate. They can also guide you through the desensitization process safely.
Ultimately, transforming your dog’s nail trim experience is an act of love and patience. It’s about understanding their world and working with them, rather than against them. The payoff isn’t just perfectly trimmed nails, but a stronger, more trusting bond with your best friend.
Frequently Asked Questions
How long does desensitization to nail trims take?
It varies greatly by dog, depending on their existing fear level, past trauma, and your consistency. For some dogs, it might be a few weeks of daily short sessions to get comfortable with a few nails; for others, it could be months for a full trim. The key is patience and not rushing the process. Celebrate small victories, like simply touching a paw calmly.
Can I use a muzzle during desensitization?
A muzzle can be a useful safety tool if your dog is properly conditioned to wear it positively, and it allows you to safely work on desensitization without fear of bites. However, it should never be used as a restraint device to force the trim. If your dog hates the muzzle, you’ll need to desensitize them to the muzzle first. The goal is always to reduce stress, not add to it.
What if my dog has black nails and I’m afraid of quicking them?
Black nails make it harder to see the quick. In this case, a Dremel or grinder can be safer as you gradually take off thin layers, watching for the small, gray-white center (the beginning of the quick). If using clippers, aim for tiny snips at the very tip, taking off only what’s clearly dead nail. You can also shine a flashlight through the nail from behind to better locate the quick. If you’re very uncomfortable, start with a professional groomer or vet to get them to a manageable length, and then maintain with positive desensitization at home.
My dog is fine with paw touching but still hates the clippers. What then?
This indicates the fear is specifically tied to the clippers (sight, sound, or sensation). Focus heavily on Phase 1 (introducing the clippers/grinder from afar, pairing with treats, making the tool predict good things) and Phase 3 (simulated trim actions, very slow introduction of actual trimming). You might also consider switching from clippers to a Dremel, or vice versa, to see if a different tool is less alarming.
My dog is very food motivated but still won’t take treats during a trim. What does that mean?
This is a clear sign that your dog is over threshold – meaning their fear or stress level is too high to process food. When a dog is in a state of high anxiety, their fight-or-flight response kicks in, and eating becomes secondary. If this happens, stop the session immediately. You need to go back to an earlier, easier step where they will take treats, even if that means just showing them the clippers from across the room and treating.